本文最后更新于 2026年3月27日 下午
登录接口的实现
登录接口的需求
和前台的登录接口差不多
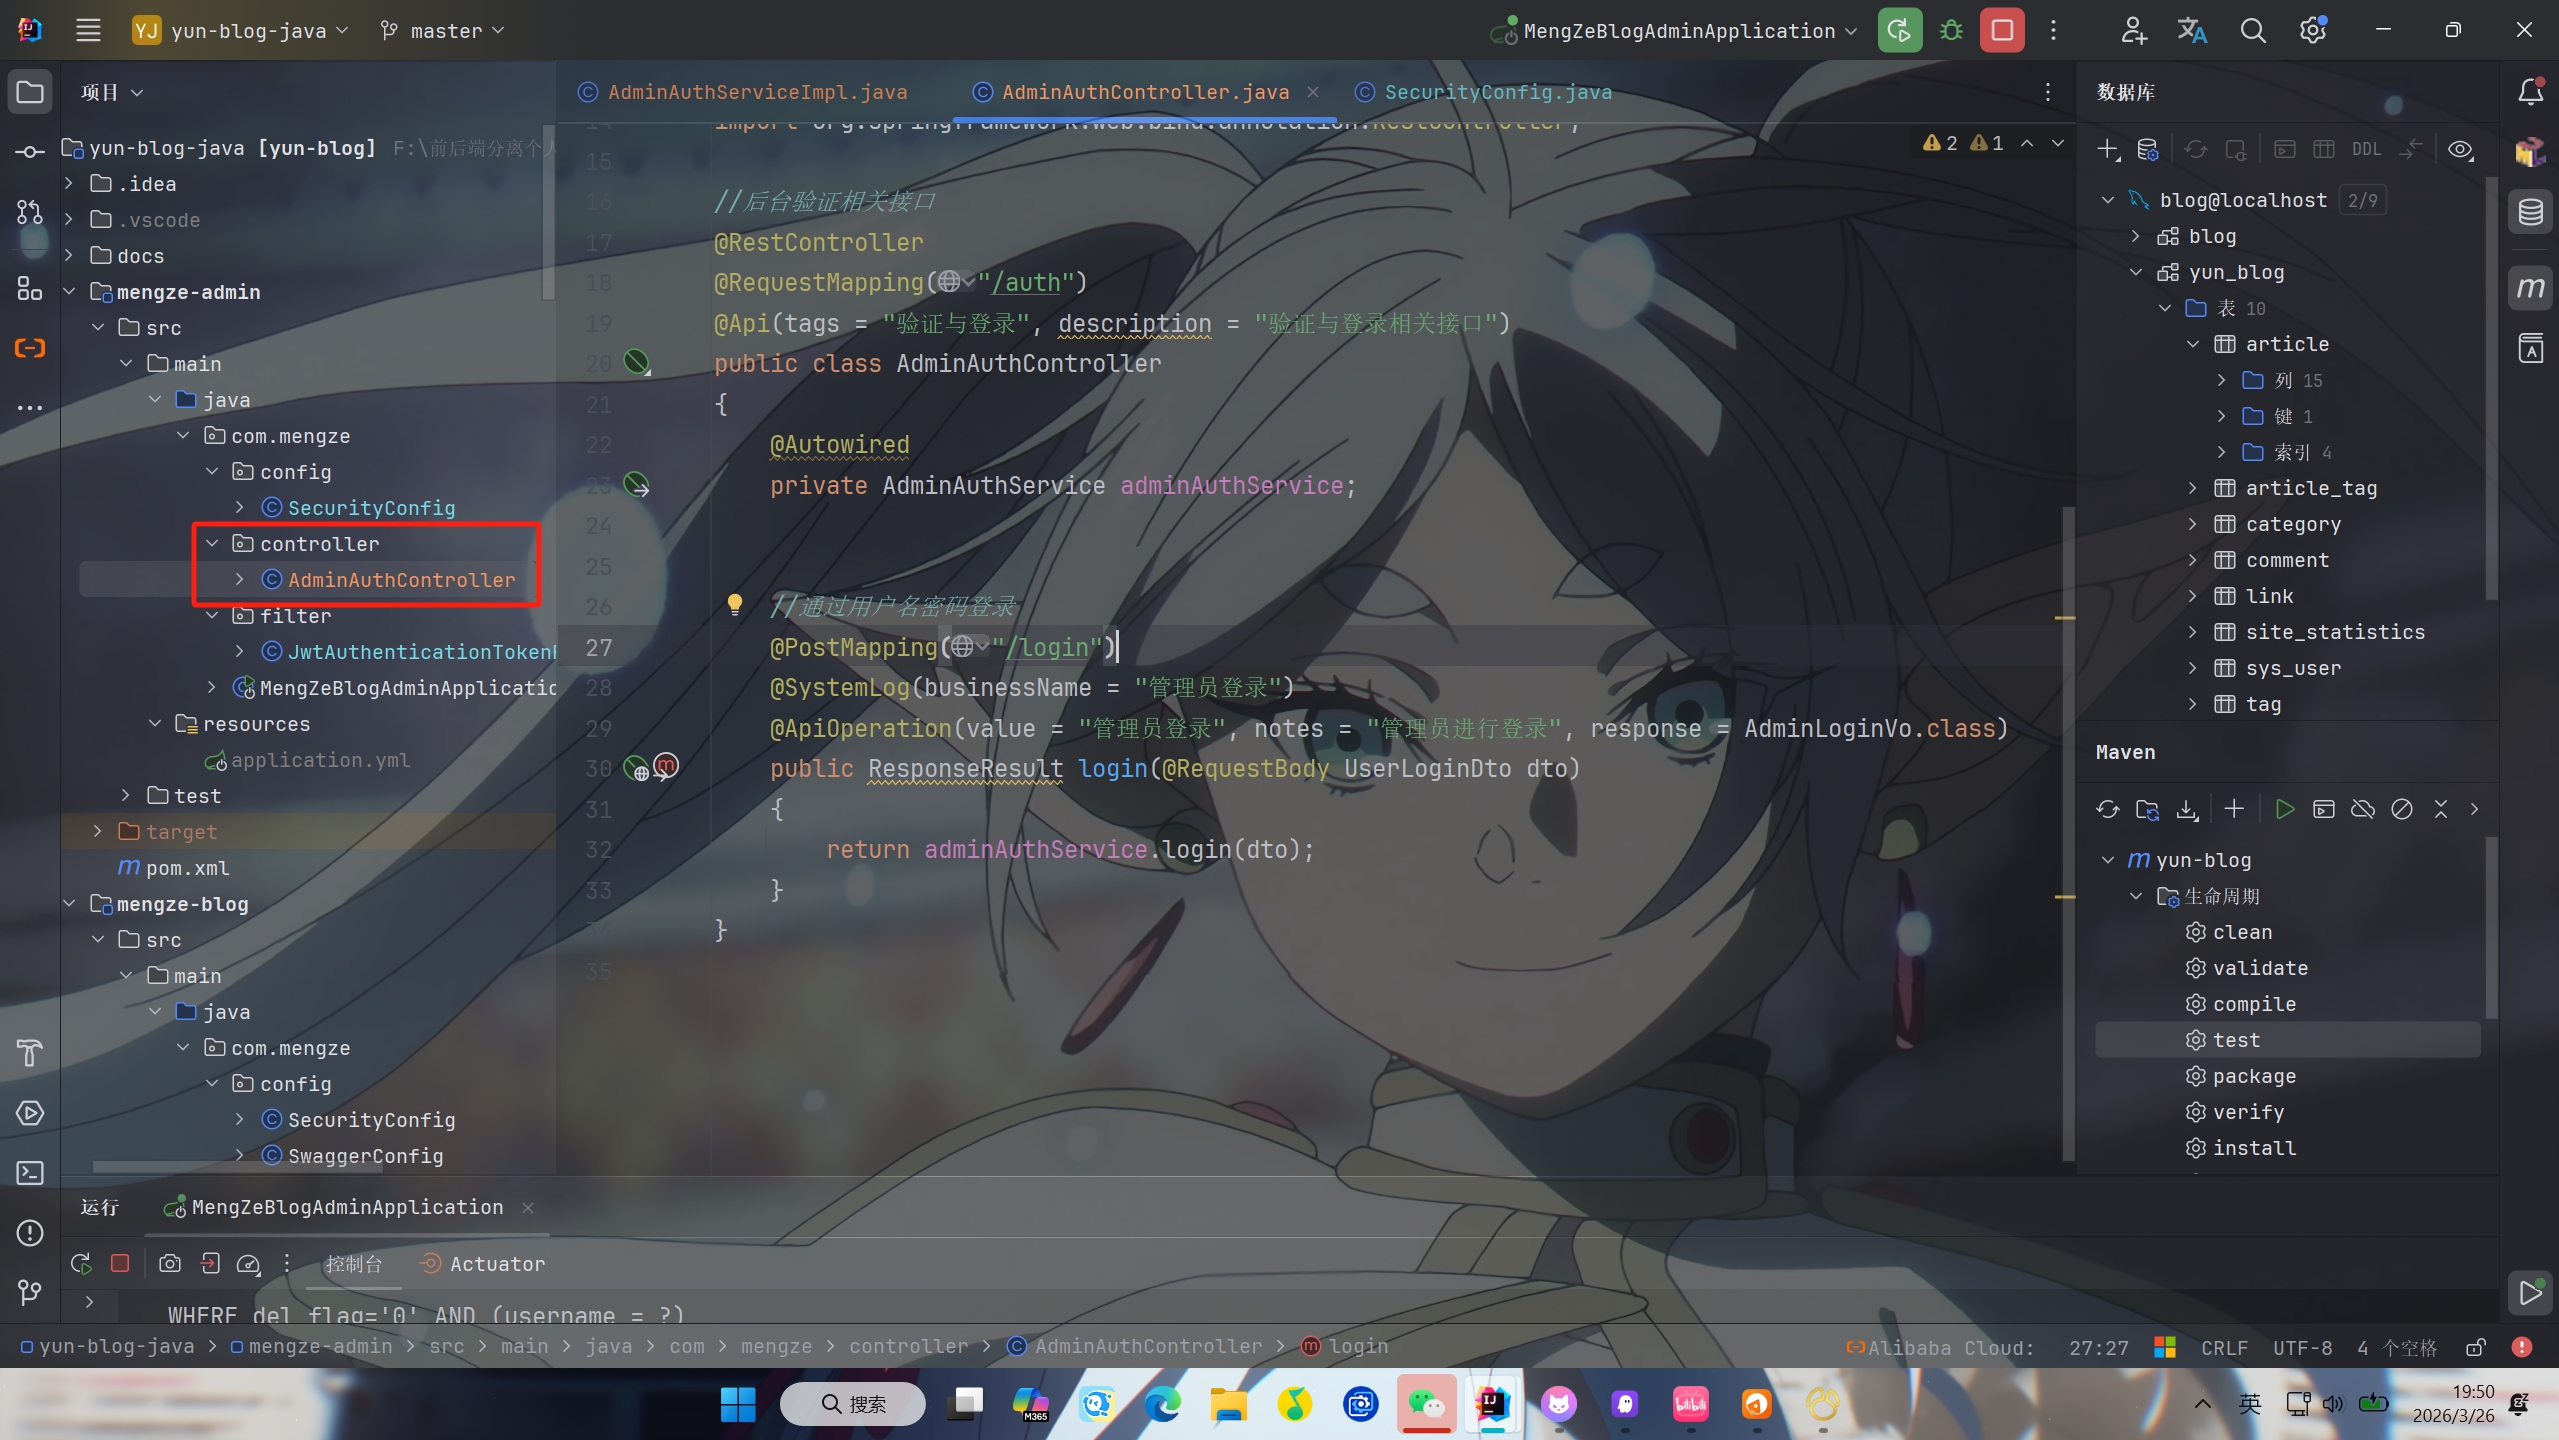
先创建AdminAuthController类负责验证相关的接口(包括登录)
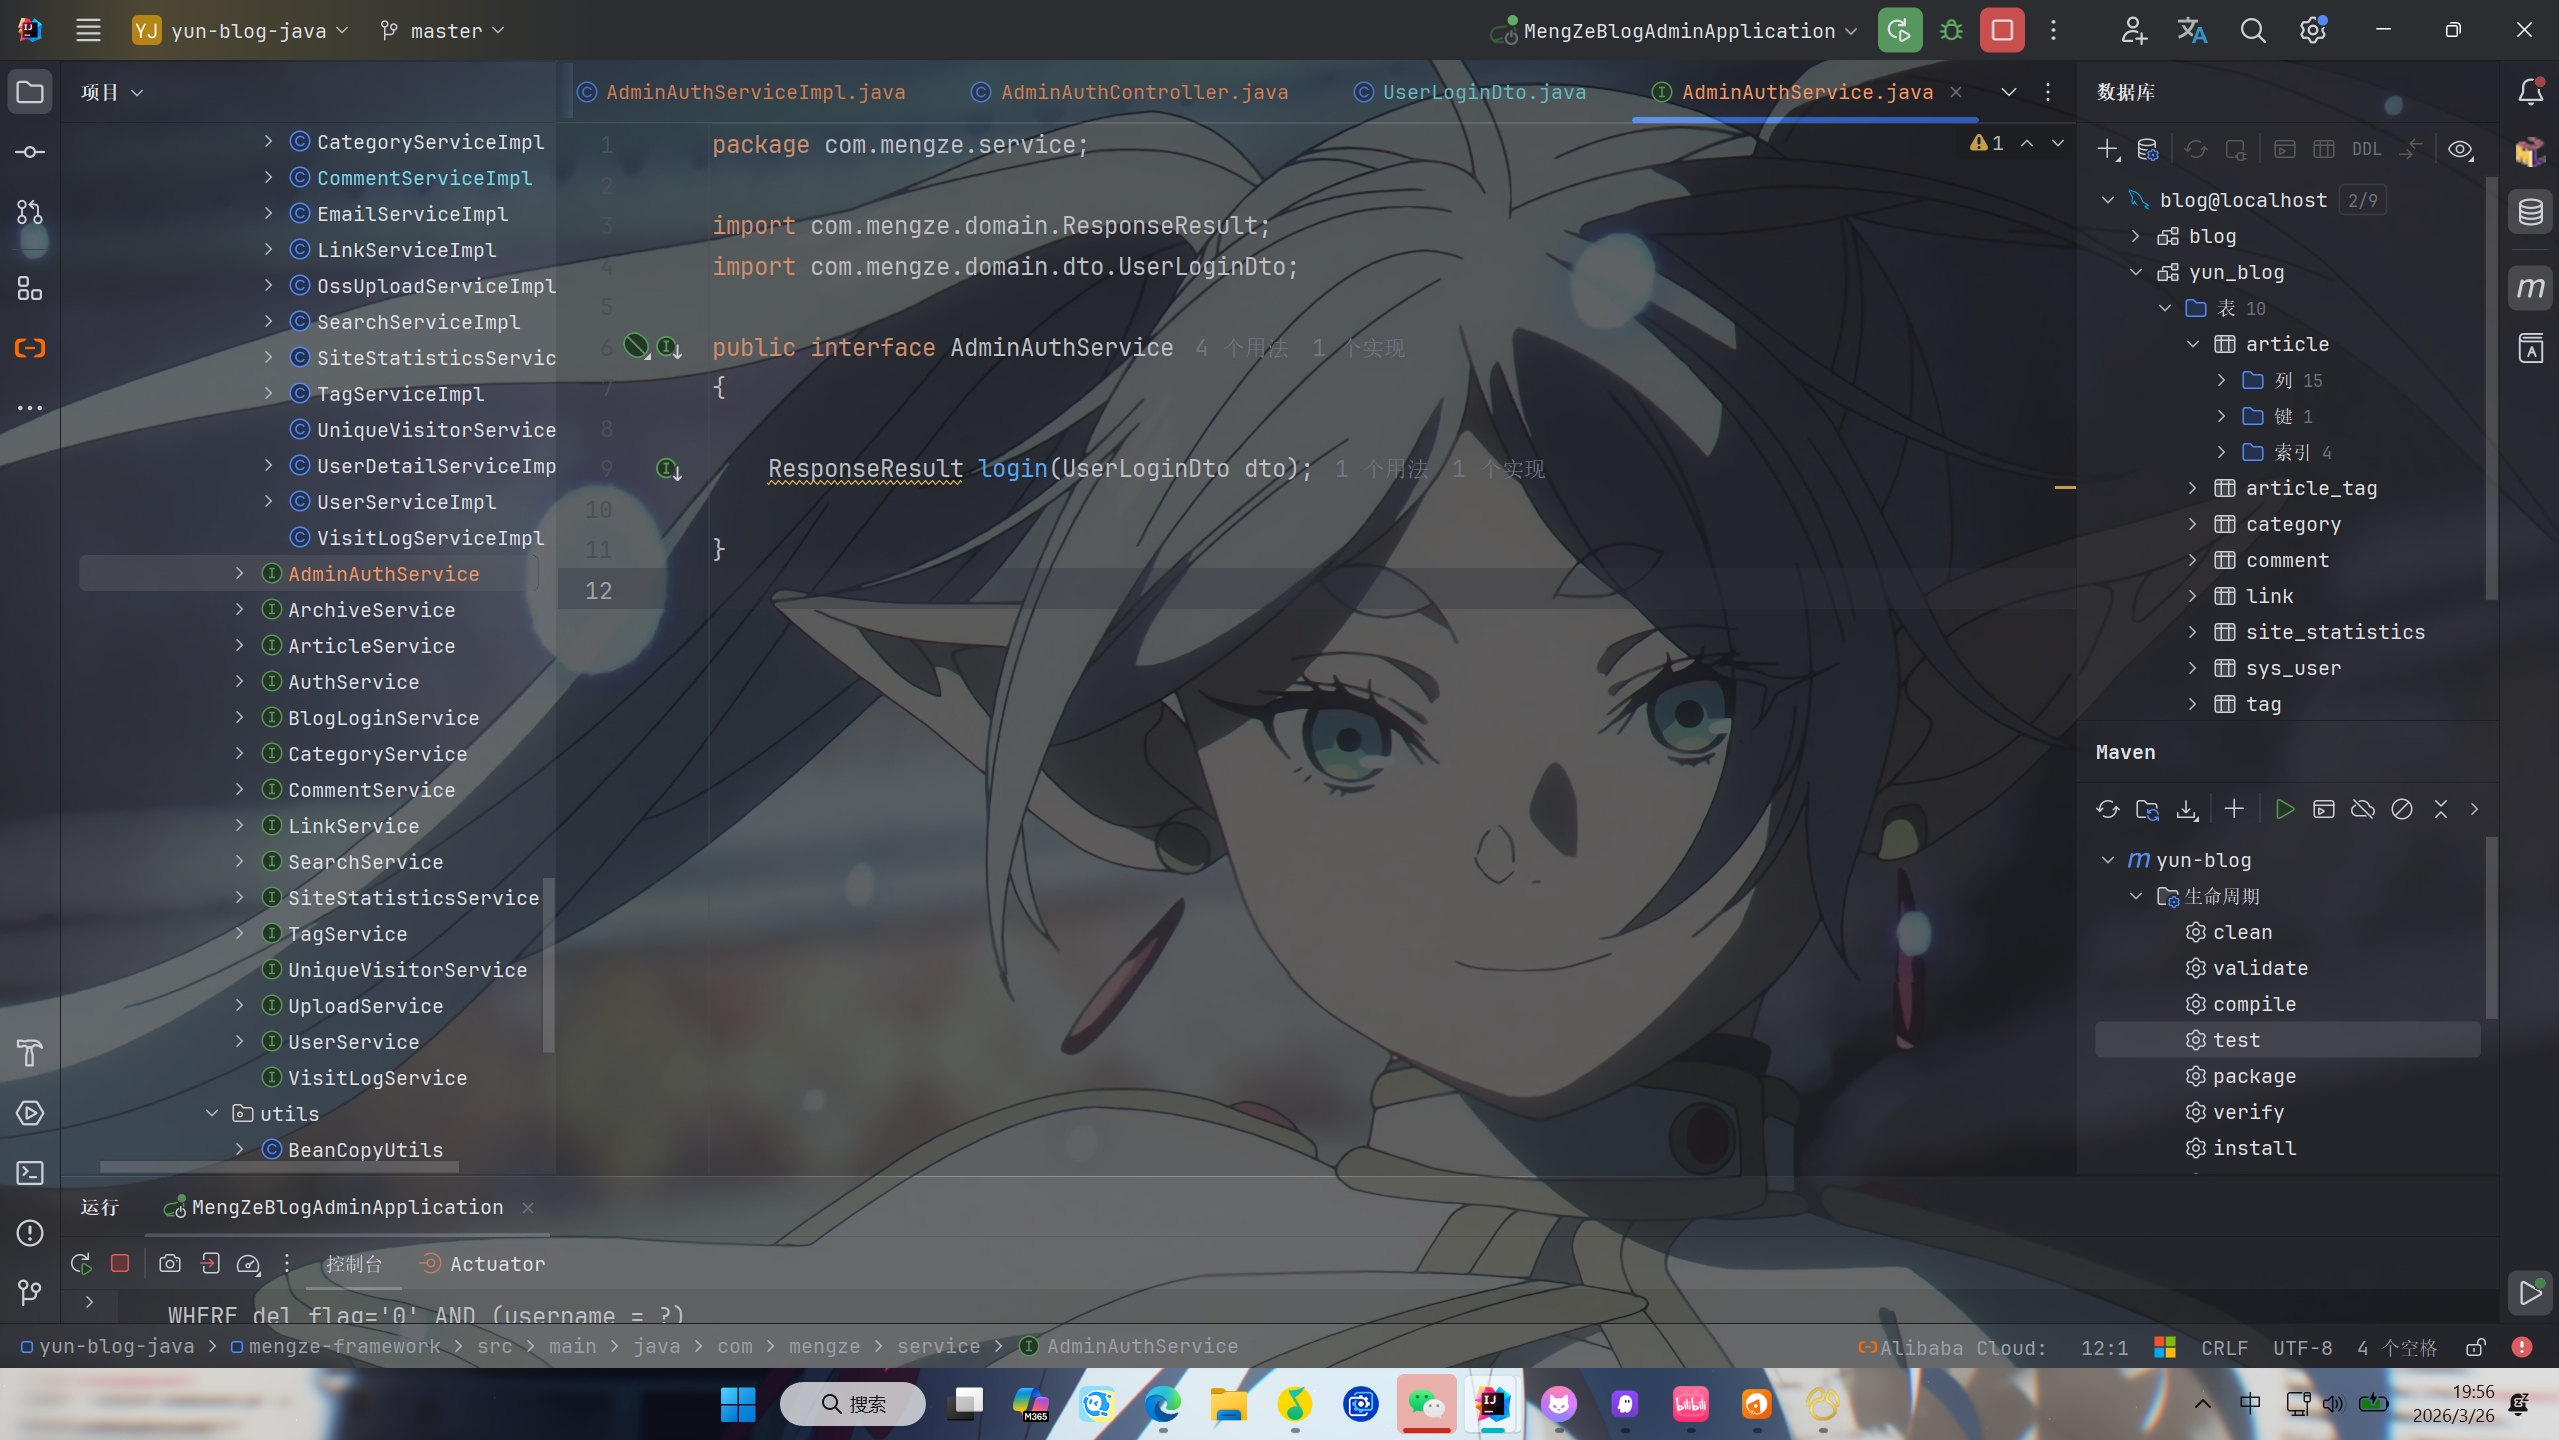
然后创建AdminAuthService接口
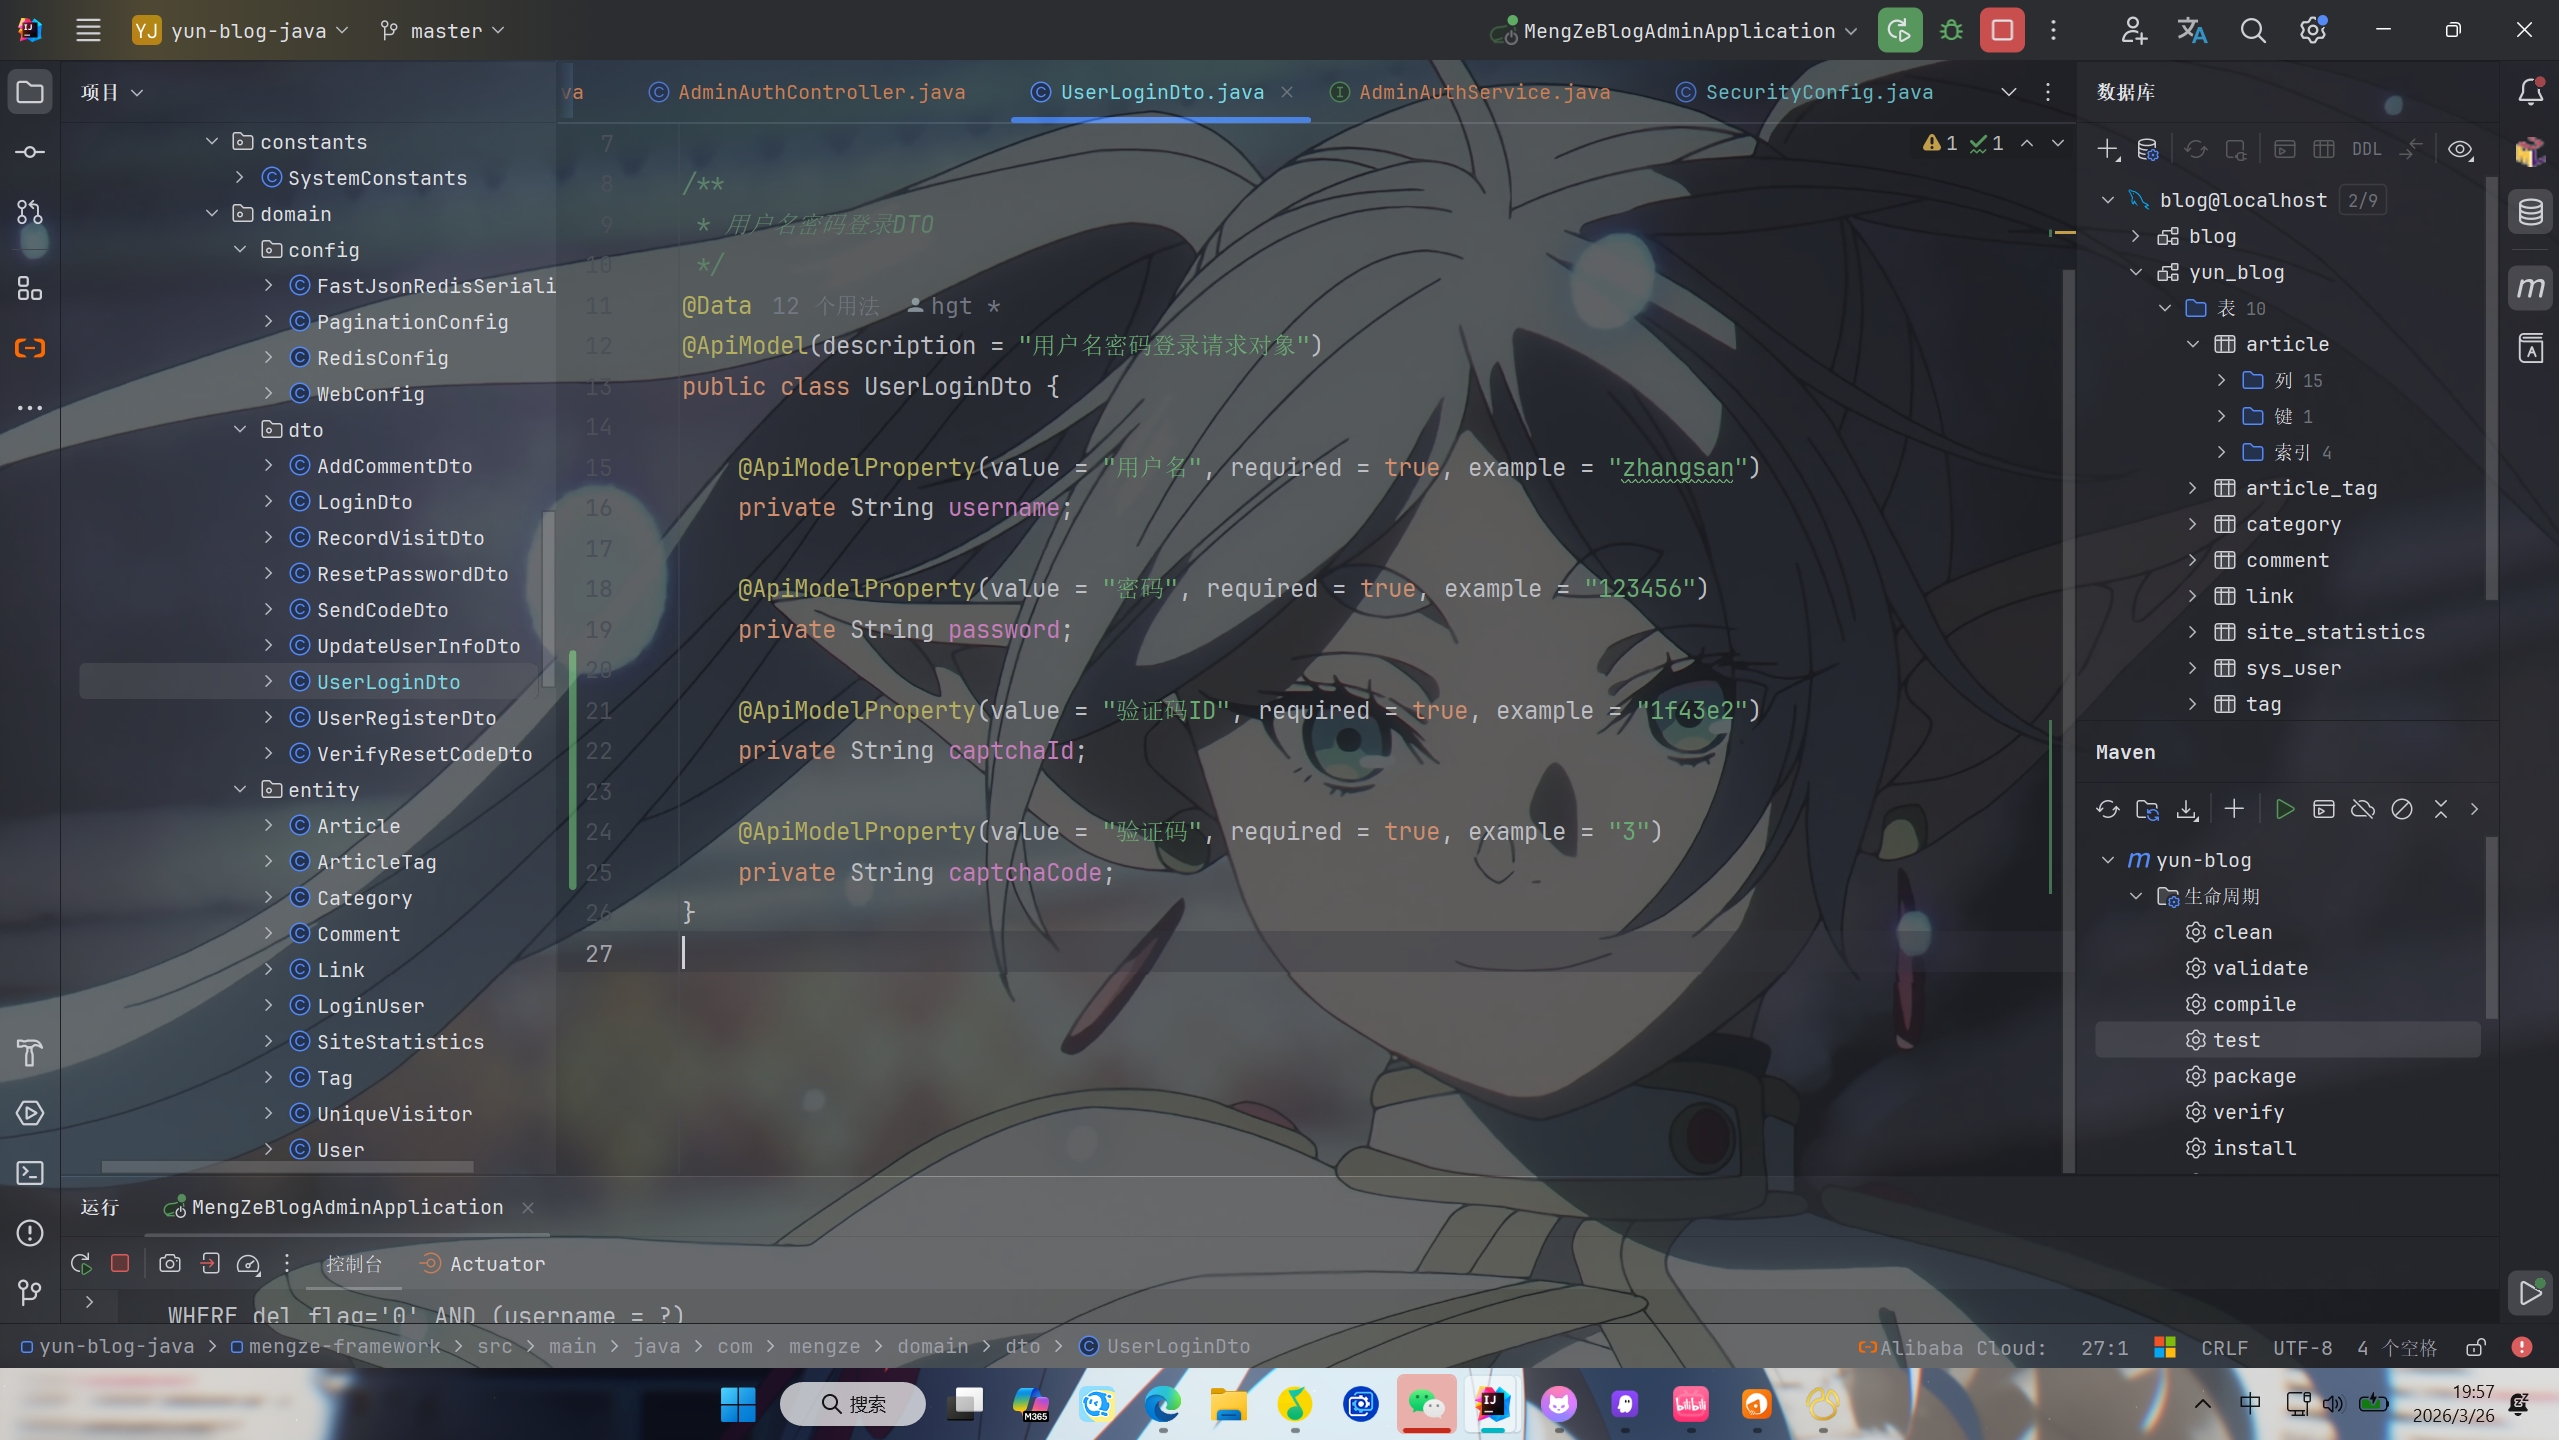
然后在UserLoginDto中新建captchaId和captchaCode两个字段
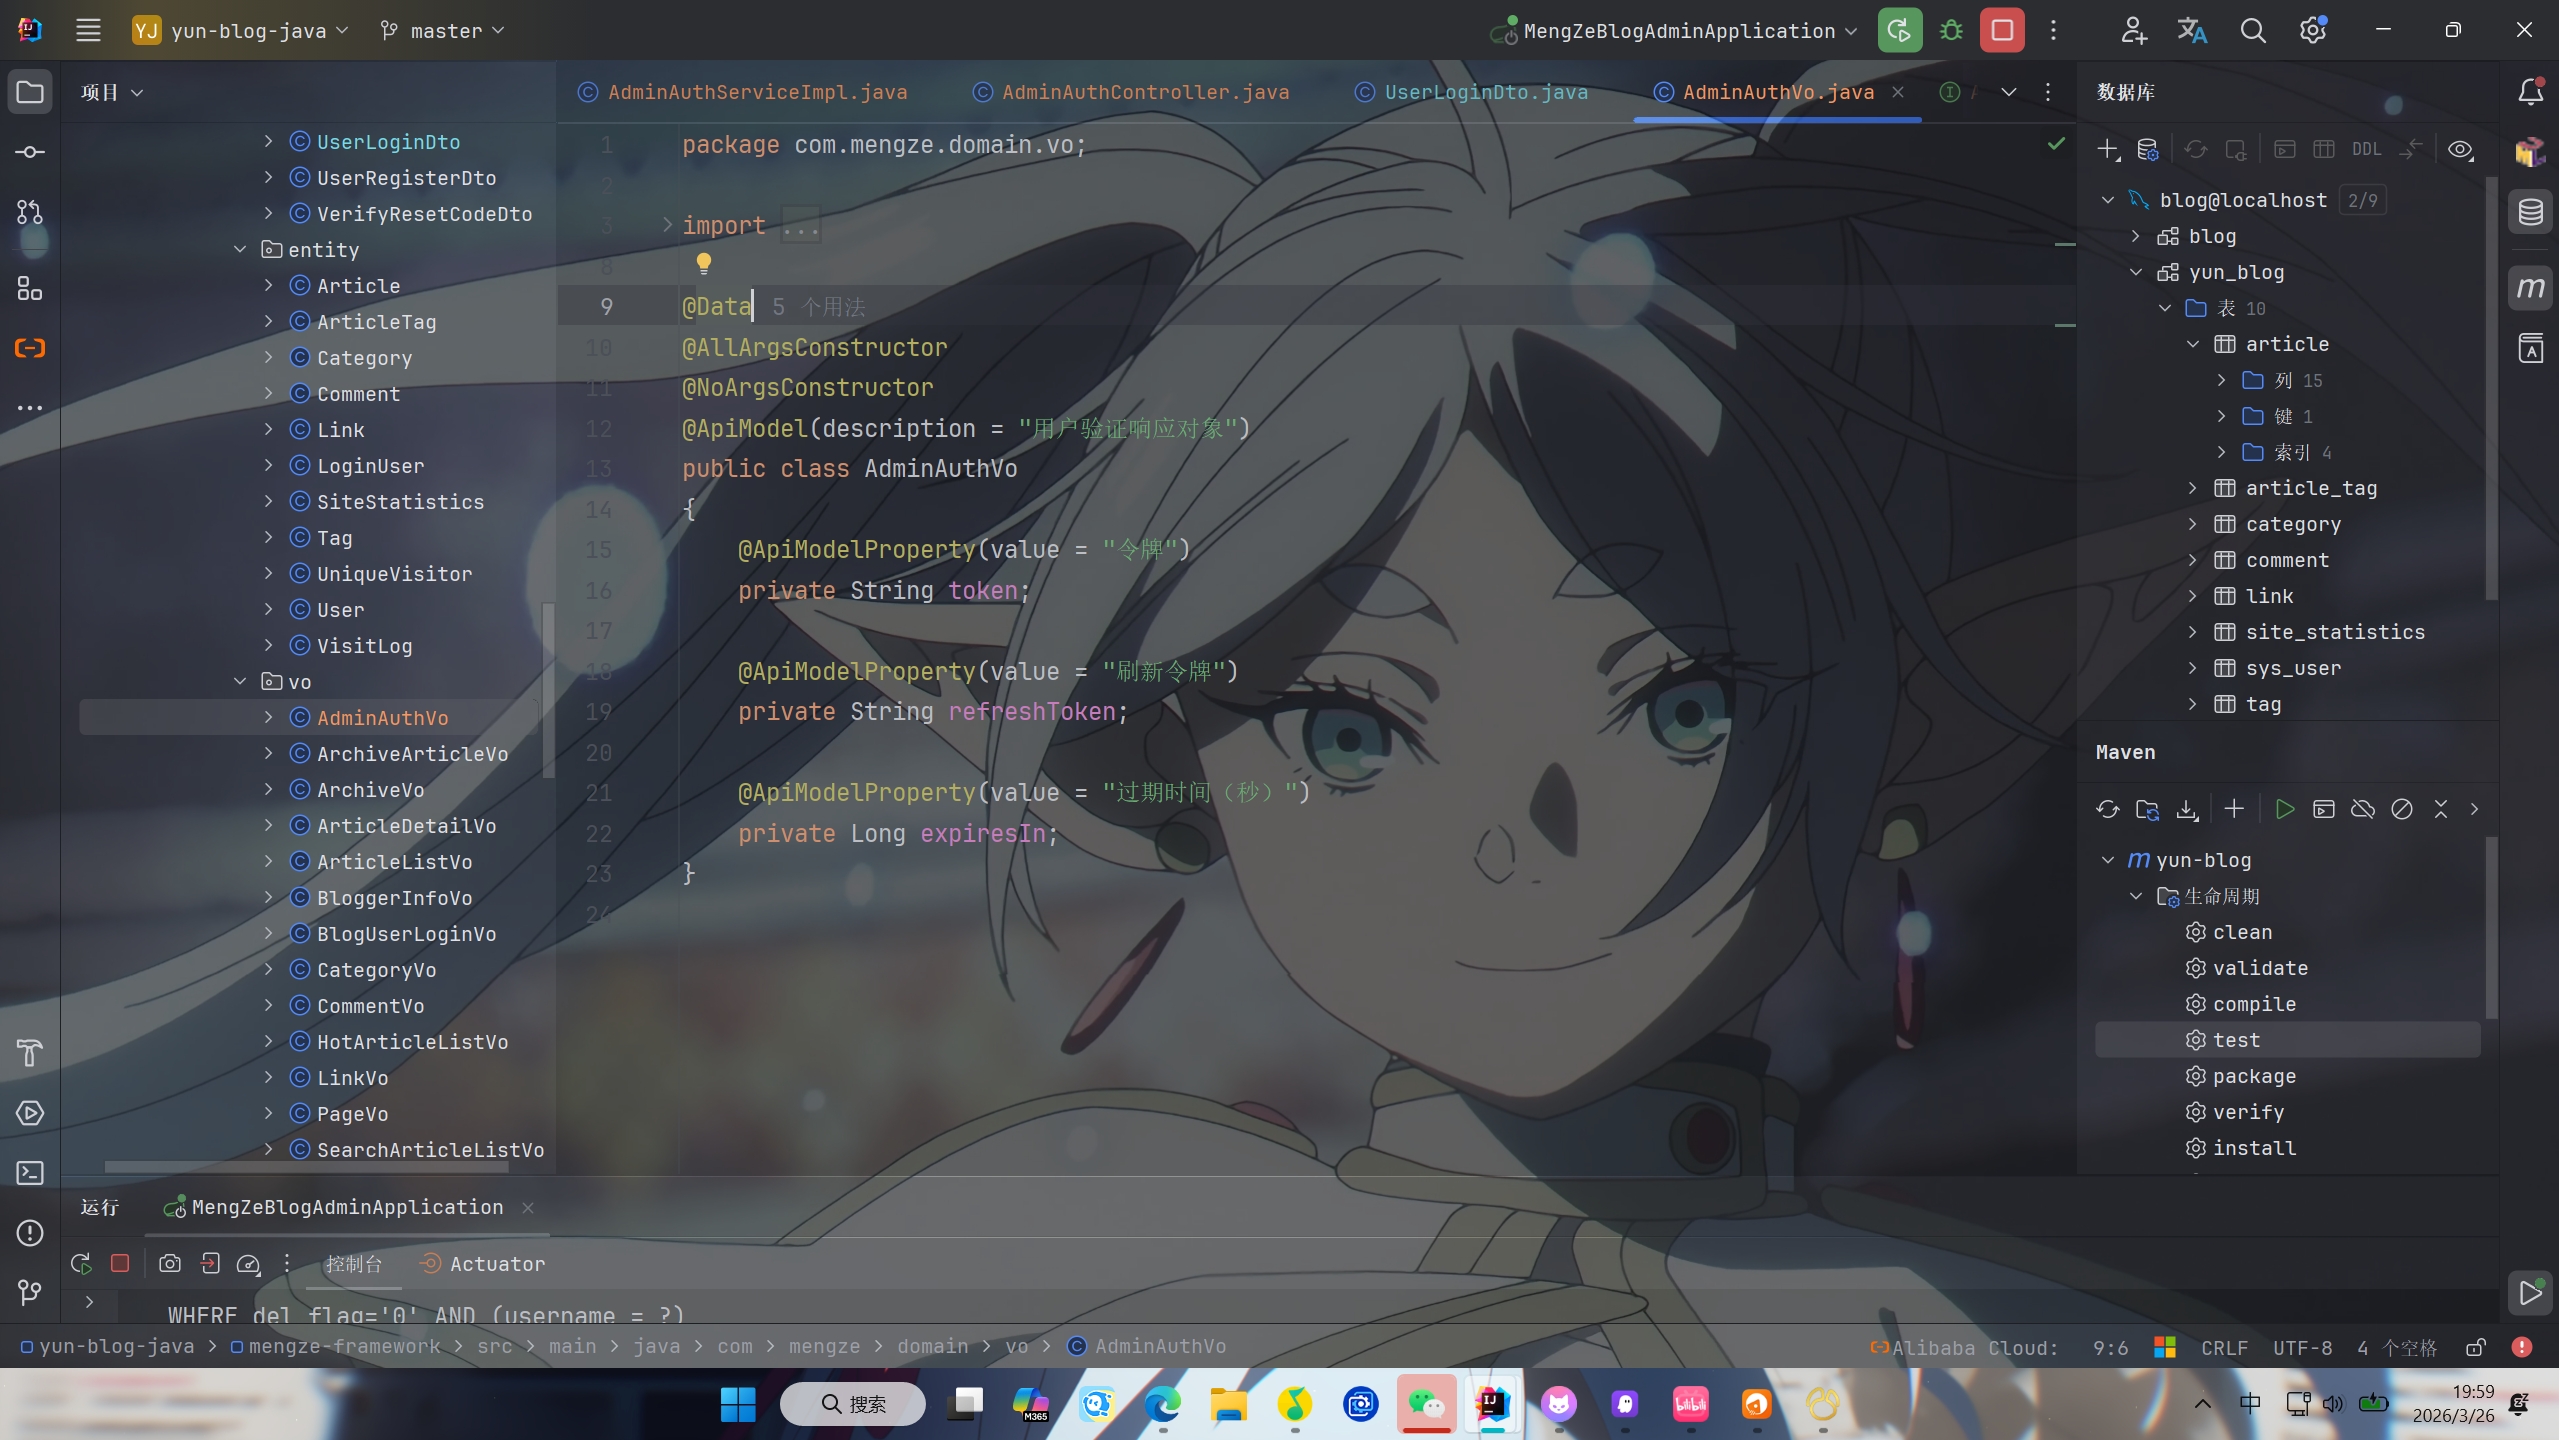
再创建创建AdminAuthVo类,里面包含token,refreshToken和expiresIn三个字段返回给前端
最后就是在AdminAuthServiceImpl类中实现相关功能
1
2
3
4
5
6
7
8
9
10
11
12
13
14
15
16
17
18
19
20
21
22
23
24
25
26
27
28
29
30
31
32
33
34
35
36
37
38
39
40
41
42
43
44
45
46
47
48
49
50
51
52
53
54
55
56
57
58
59
60
61
62
63
64
65
66
67
|
@Service
public class AdminAuthServiceImpl implements AdminAuthService
{
@Autowired
private AuthenticationManager authenticationManager;
@Autowired
private RedisCache redisCache;
@Override
public ResponseResult login(UserLoginDto dto)
{
if (!StringUtils.hasText(dto.getUsername())) {
throw new SystemException(AppHttpCodeEnum.REQUIRE_USERNAME);
}
if (StringUtils.hasText(dto.getCaptchaId()) && StringUtils.hasText(dto.getCaptchaCode())) {
String cacheKey = "captcha:" + dto.getCaptchaId();
String cachedCode = redisCache.getCacheObject(cacheKey);
if (cachedCode == null) {
throw new SystemException(AppHttpCodeEnum.CAPTCHA_EXPIRED);
}
if (!cachedCode.equalsIgnoreCase(dto.getCaptchaCode())) {
throw new SystemException(AppHttpCodeEnum.CAPTCHA_ERROR);
}
redisCache.deleteObject(cacheKey);
}
User user = BeanCopyUtils.copyBean(dto, User.class);
UsernamePasswordAuthenticationToken authenticationToken =
new UsernamePasswordAuthenticationToken(user.getUsername(), user.getPassword());
Authentication authenticate = authenticationManager.authenticate(authenticationToken);
if (Objects.isNull(authenticate)) {
throw new RuntimeException("用户名或密码错误!");
}
LoginUser loginUser = (LoginUser) authenticate.getPrincipal();
User userInfo = loginUser.getUser();
String userId = userInfo.getId().toString();
String token = JwtUtil.createJWT(userId);
String refreshToken = JwtUtil.createJWT(userId, 7 * 24 * 60 * 60 * 1000L);
redisCache.setCacheObject("adminLogin:" + userId, loginUser);
AdminAuthVo vo = new AdminAuthVo(token, refreshToken, JwtUtil.JWT_TTL / 1000);
return ResponseResult.okResult(vo);
}
}
|

PS:该系列只做为作者学习开发项目做的笔记用
不一定符合读者来学习,仅供参考
预告
后续会记录博客的开发过程
每次学习会做一份笔记来进行发表
“一花一世界,一叶一菩提”
版权所有 © 2026 云梦泽
欢迎访问我的个人网站:https://hgt12.github.io/